After removing the mirror, take a sheet of notebook paper, lay on the mirror and trace around the outer perimeter. The following is a 4.5-inch mirror which I center-marked earlier this year.
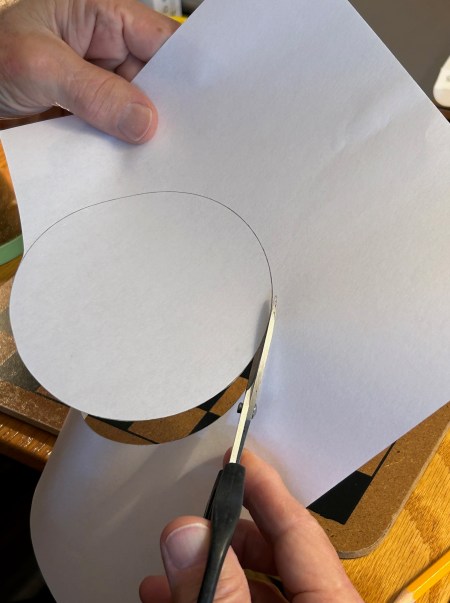
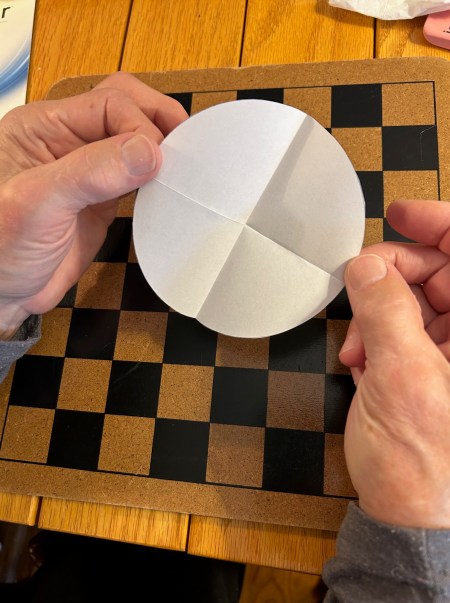
Fold the circle template in half, then quarter and then make a tiny hole in the center with any small sharp object. Now take a black Sharpie and “lightly dot” the center of the mirror, via the tiny hole. Now you are ready to replace the mirror and begin collimation. I’m not going to discuss collimation in this post, but have provided the following link from “High Point Scientific”…which is excellent.
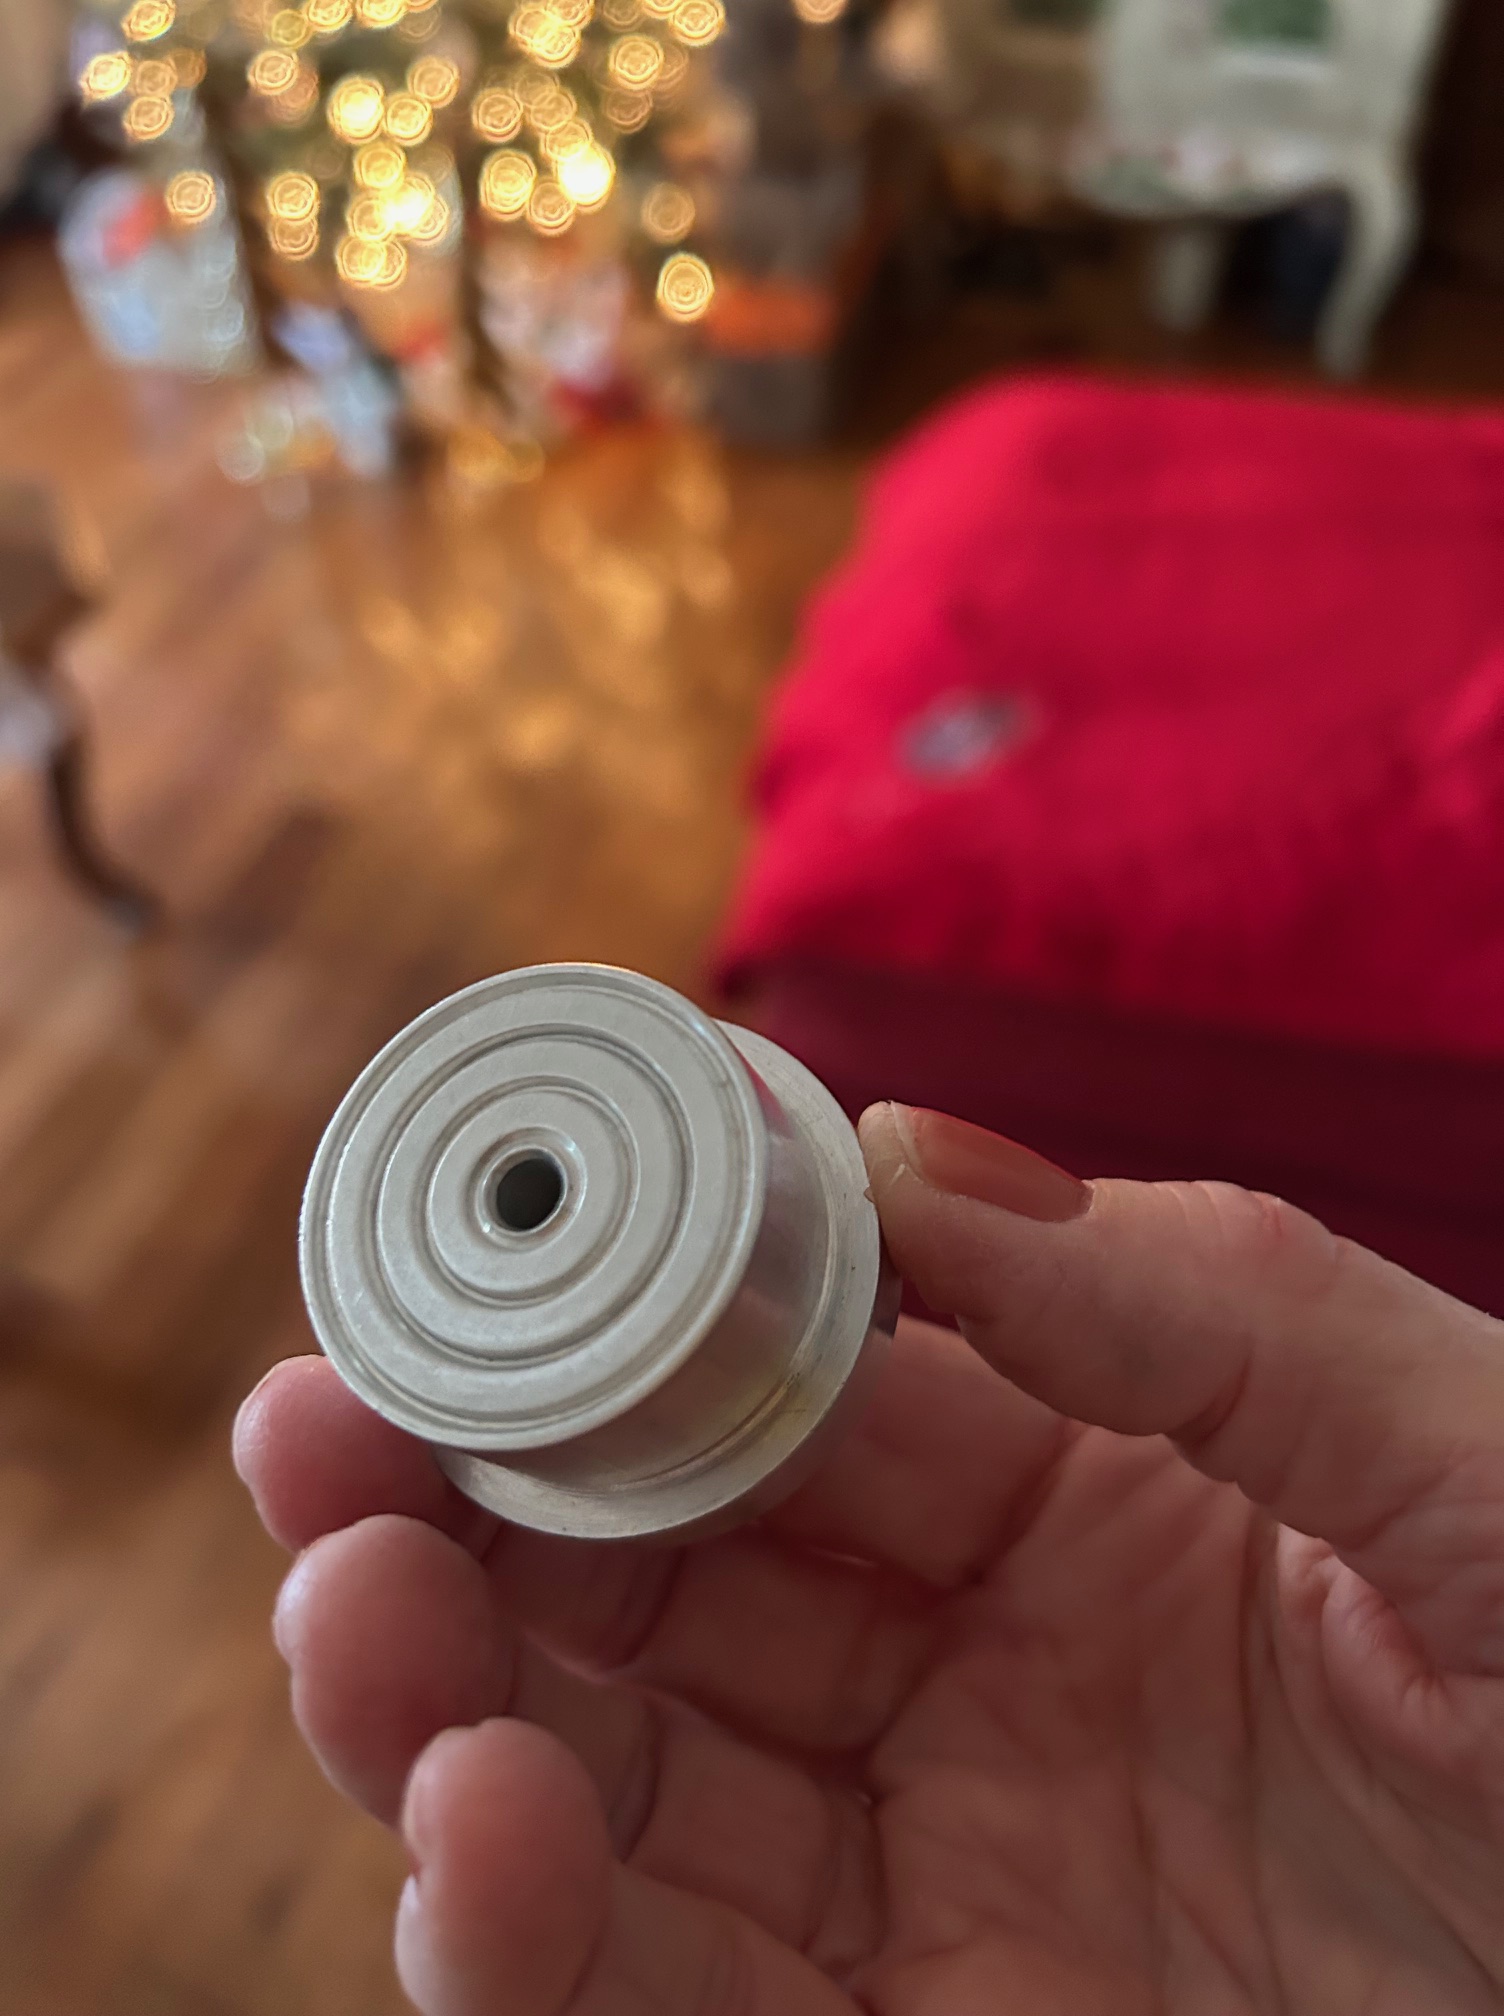
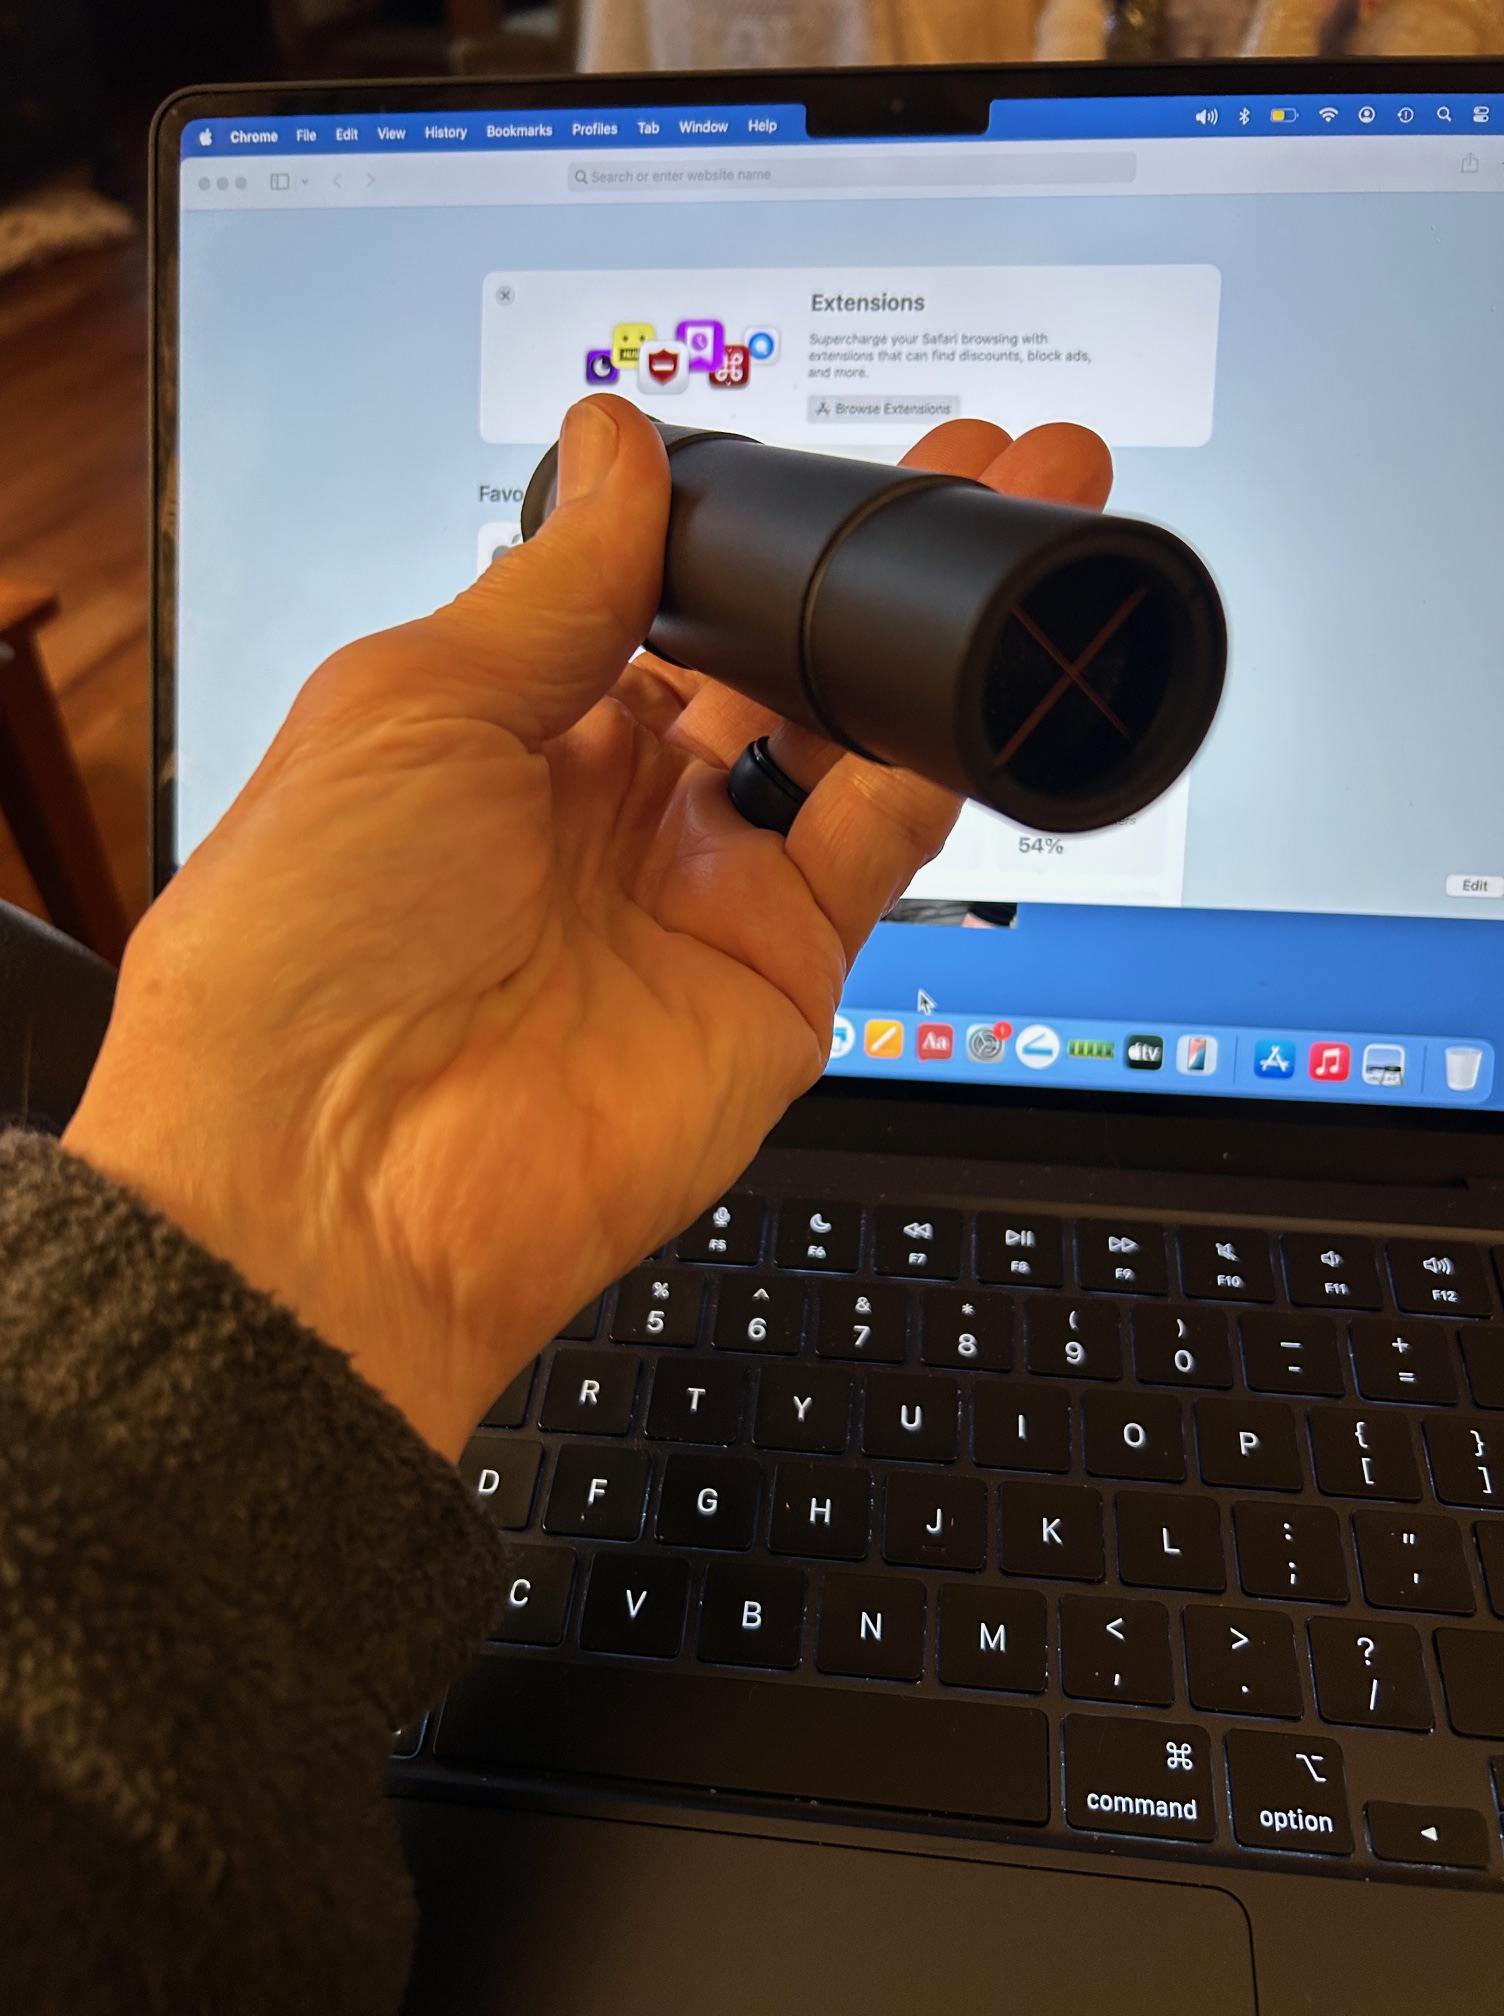
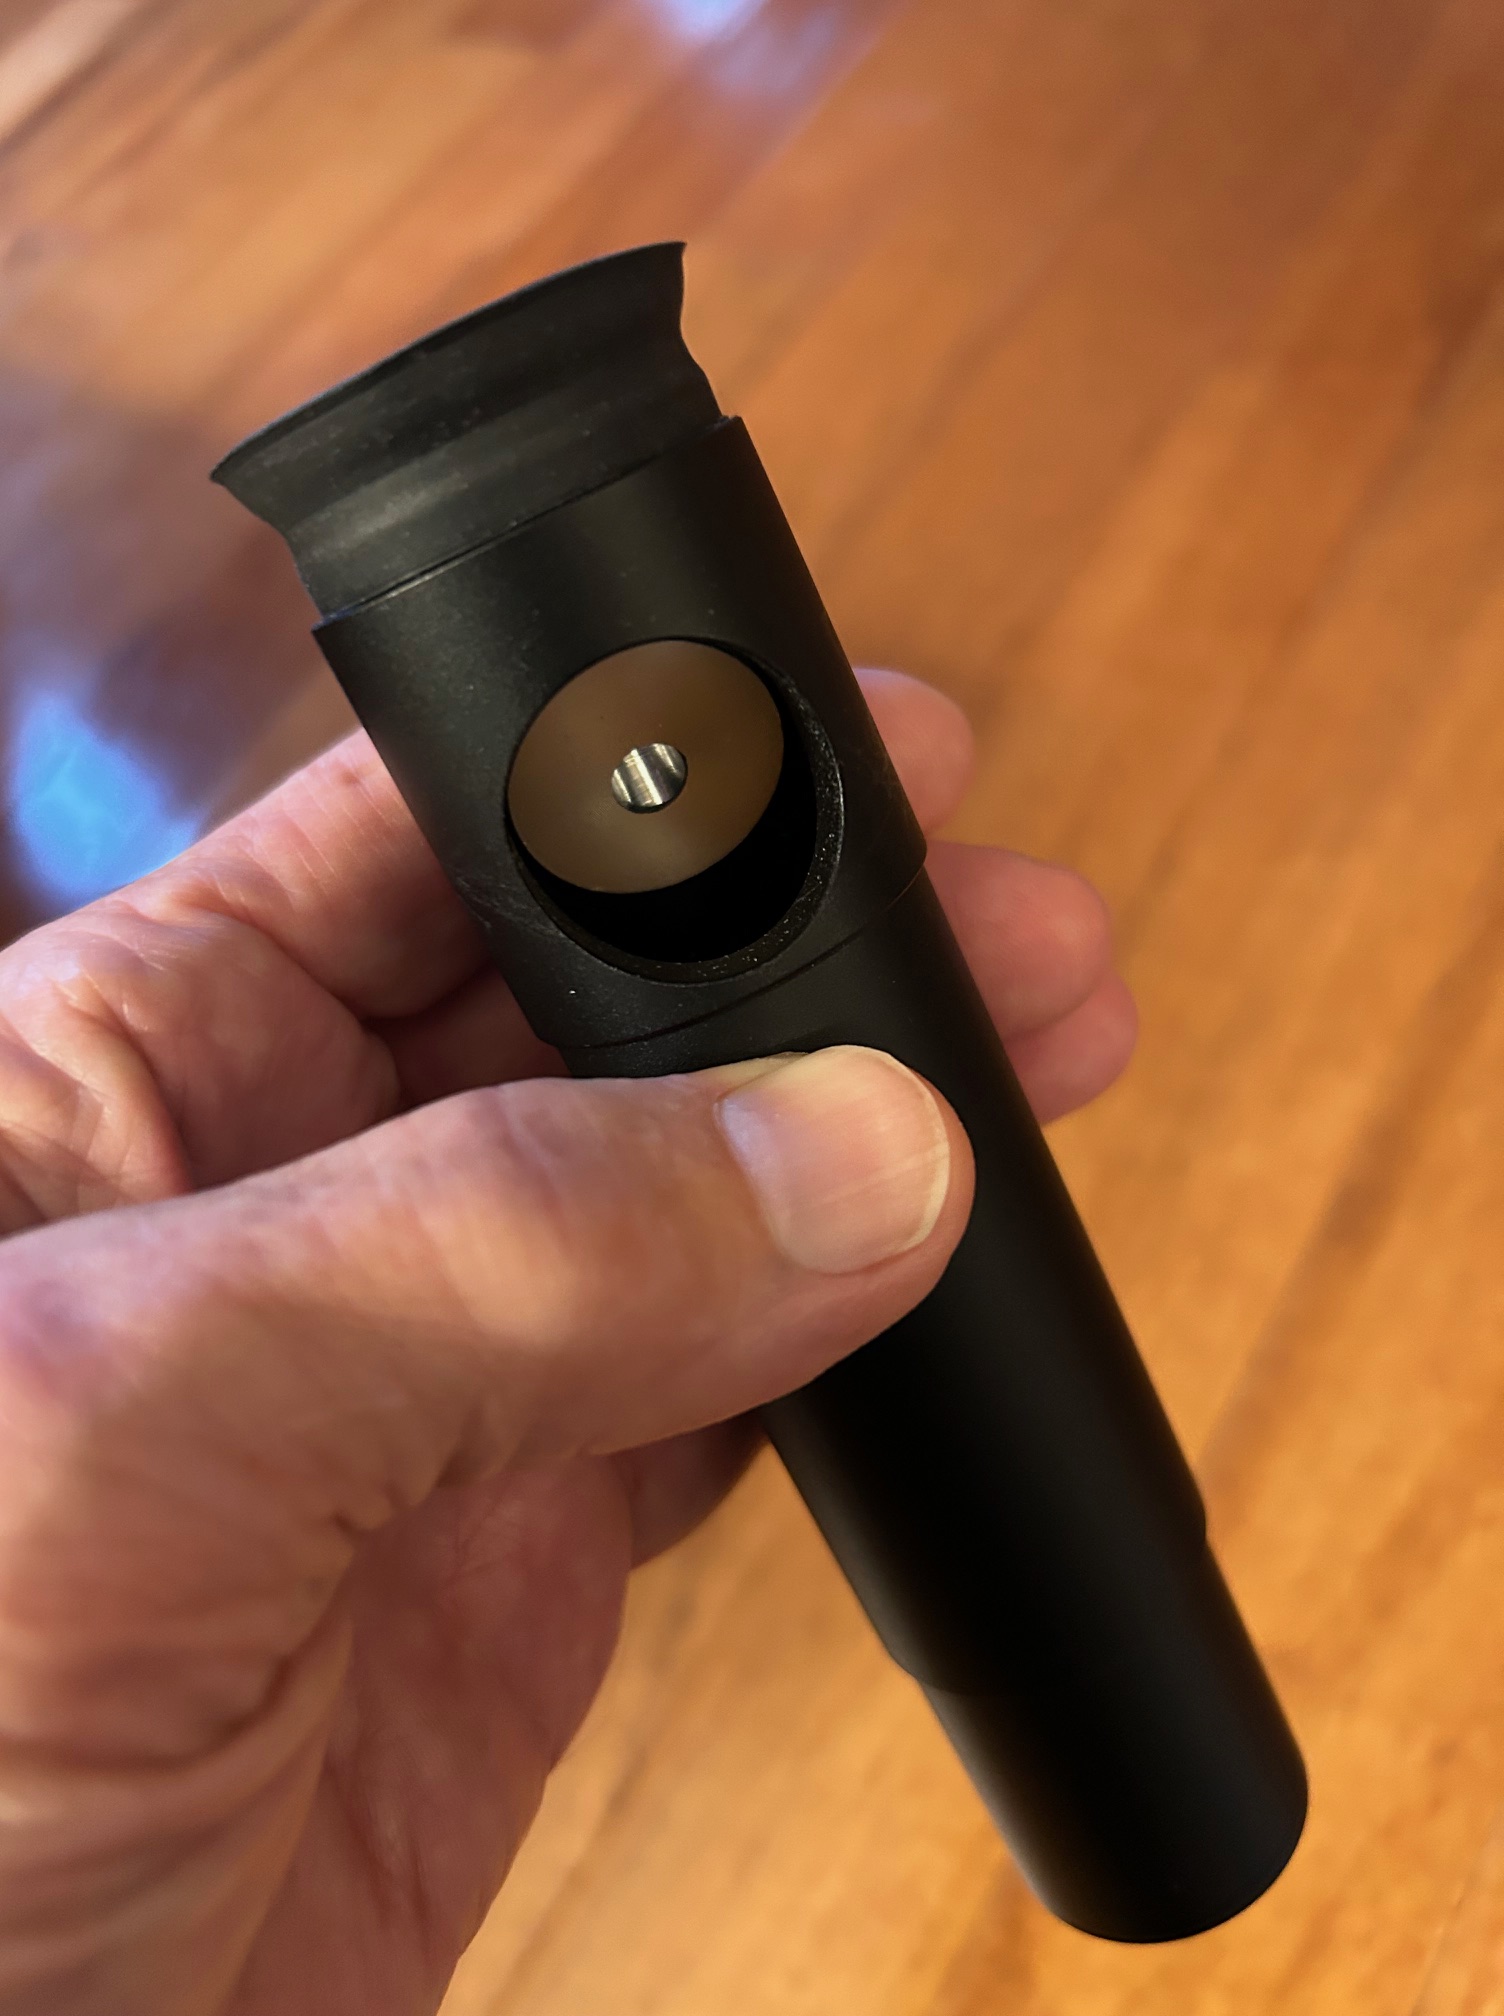
A collimation tool will be needed: I use a homemade machined collimating tool (see below) which works great. However, consider a Cheshire collimating eyepiece which is not very expensive at all. I have a Cheshire eyepiece, but most often find myself using only my homemade tool. A laser collimator is not necessary.

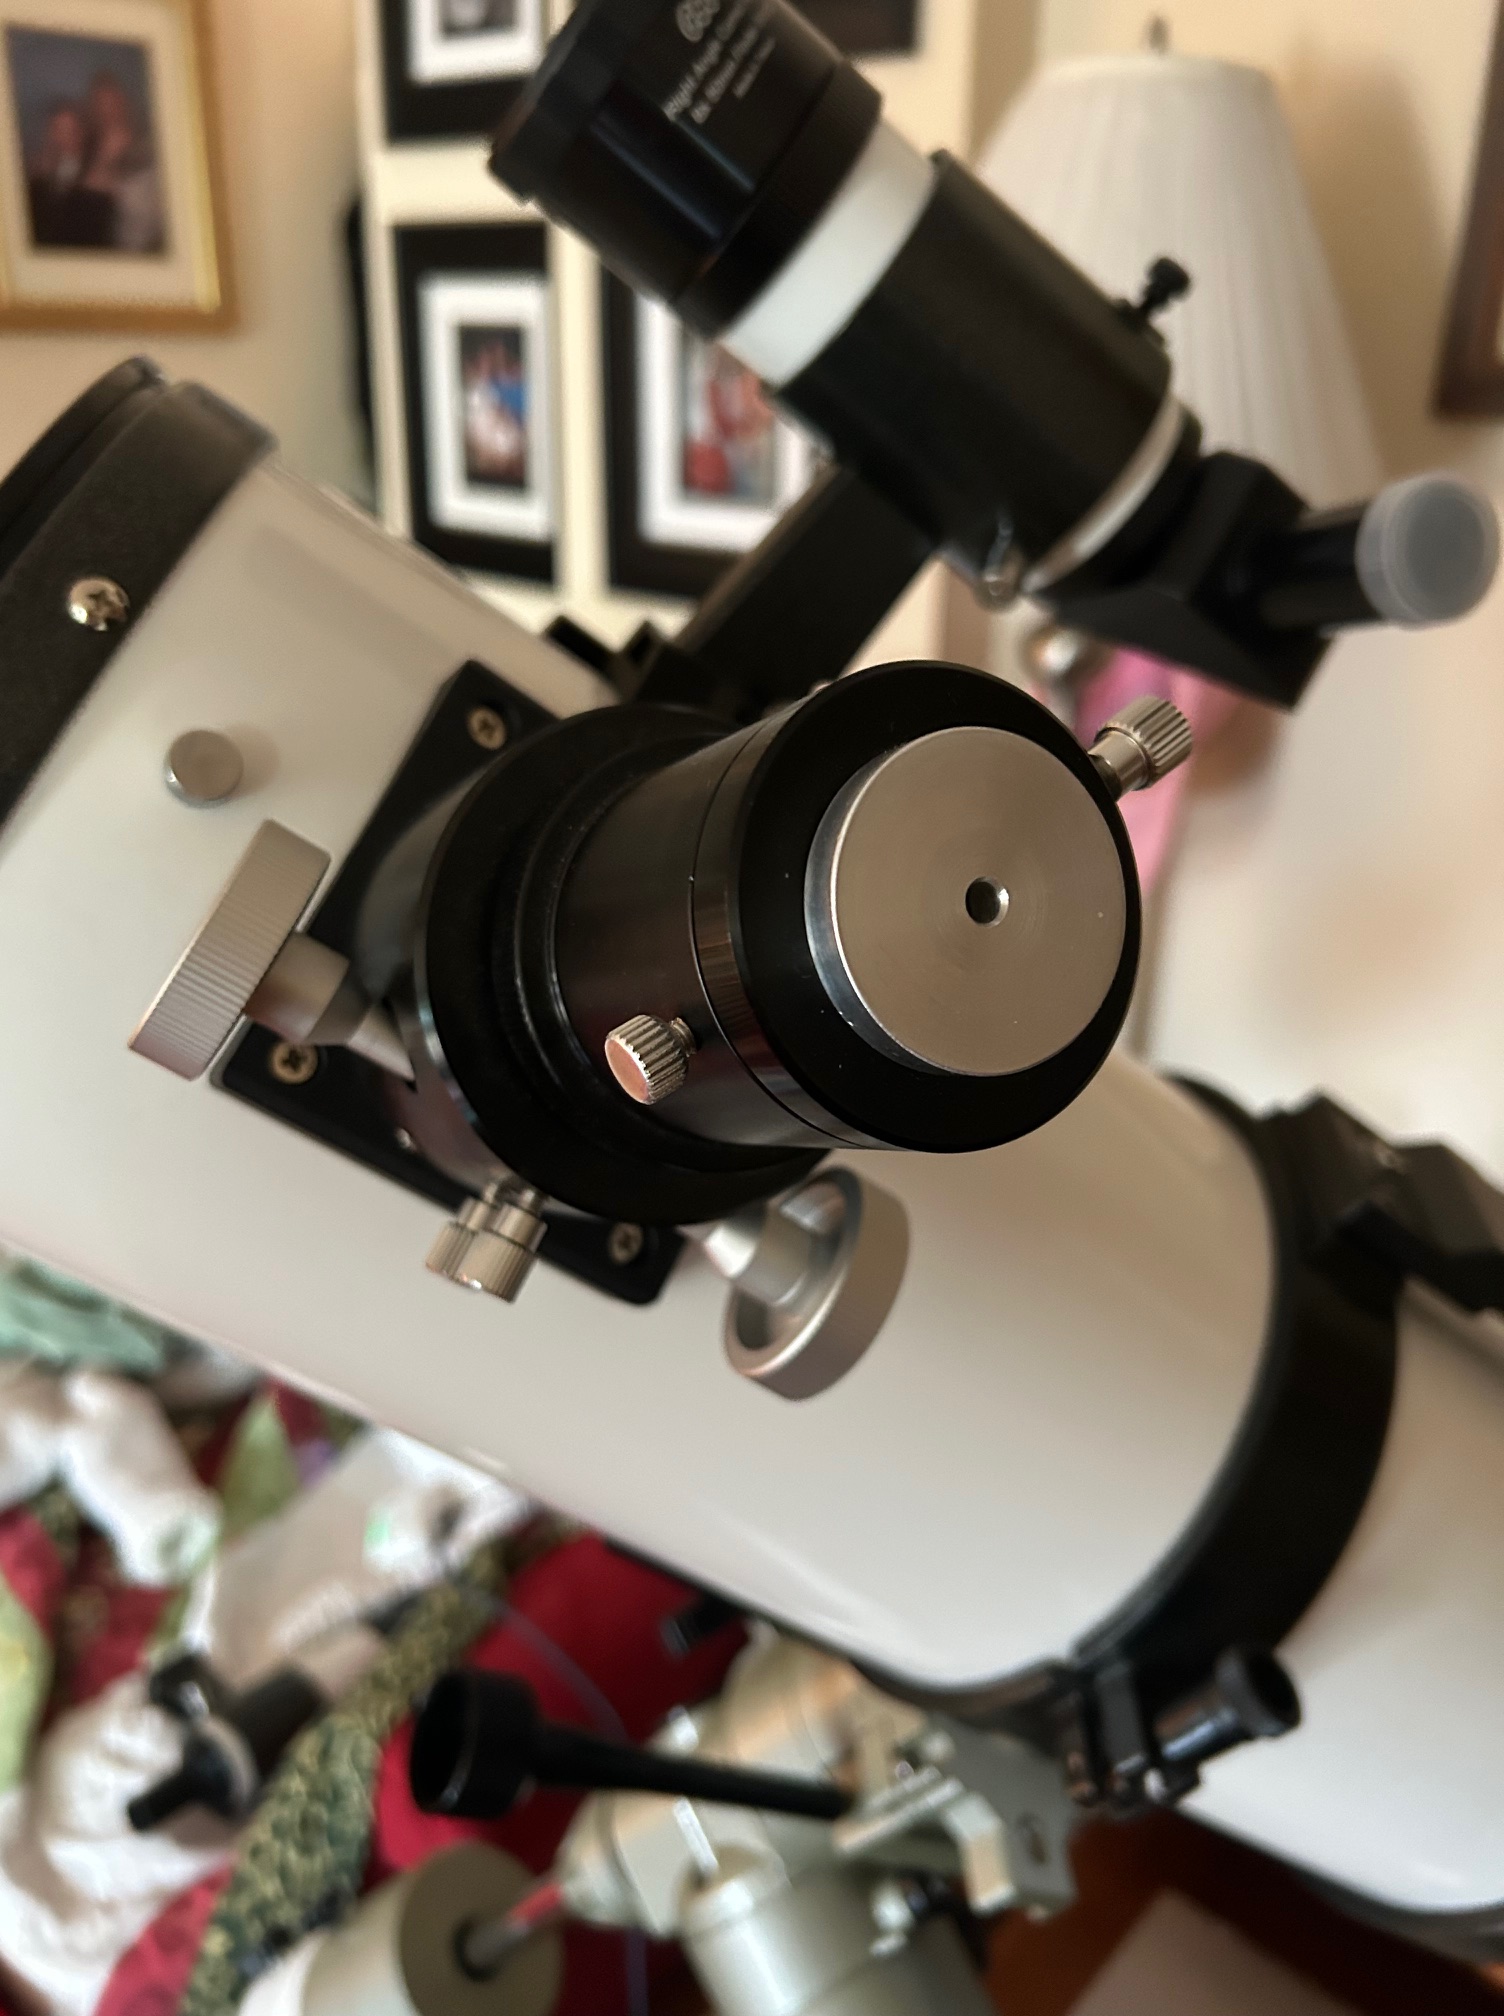
A couple photos of my Cheshire eyepiece as following which I also use on occasion:
While the mirror is out, it’s the perfect time to check if cleaning is needed.
The following procedure has allowed me to clean telescope mirrors with excellent results. It should, however, be noted that your results may vary. And mirrors coatings are very delicate, so be careful and use good common sense and care.
https://rogerivester.com/category/how-to-clean-a-telescope-mirror

Recent Comments